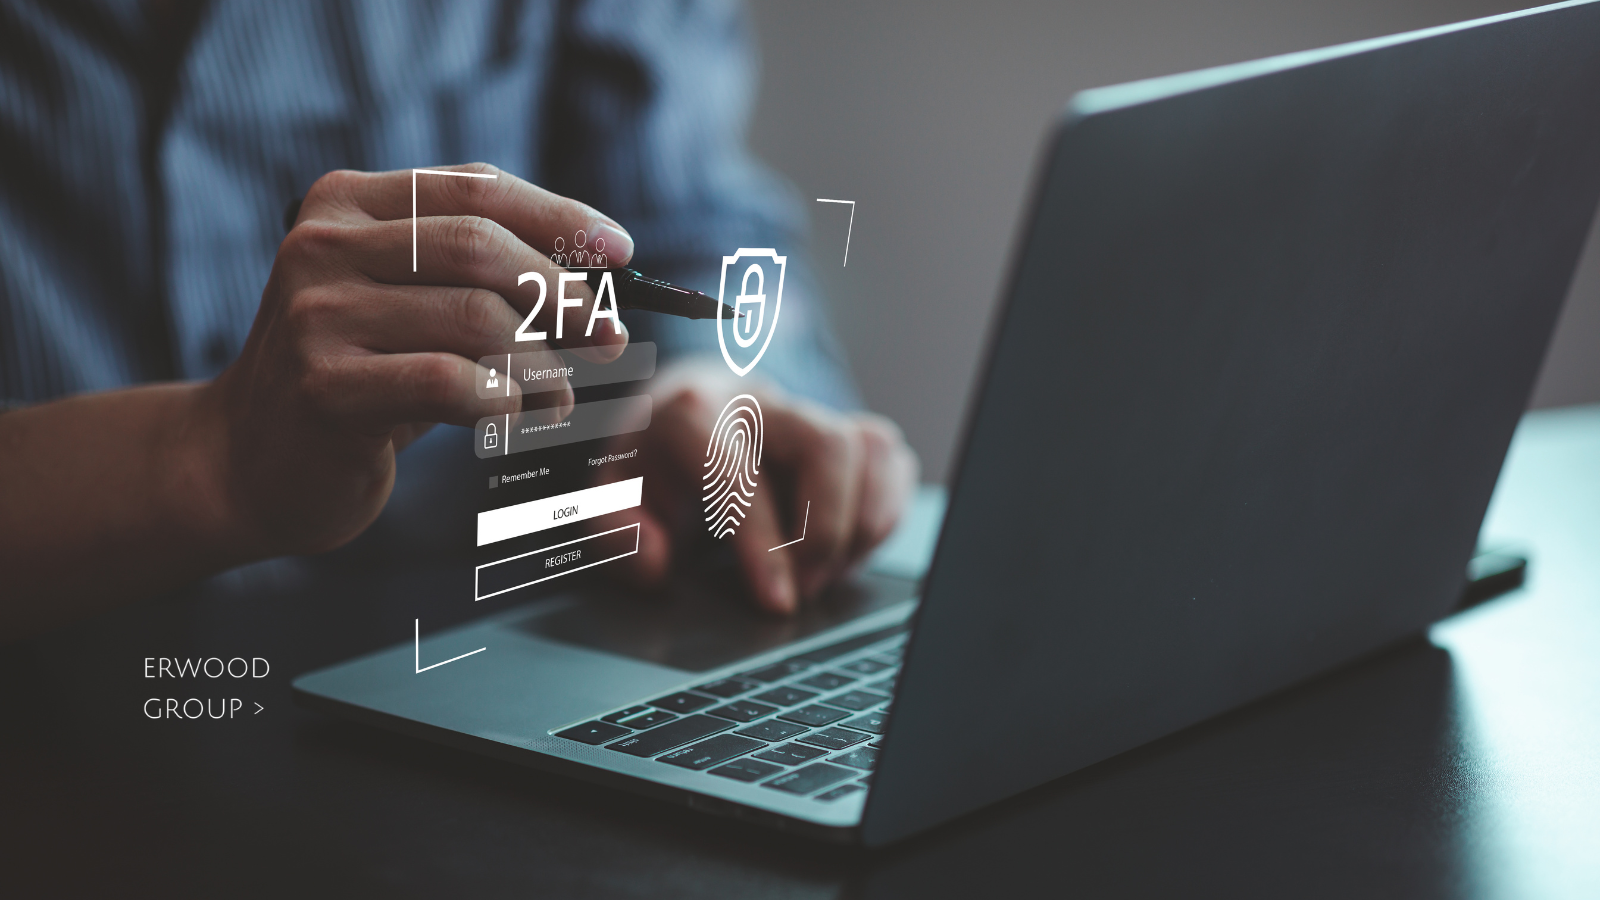
Enable Two-Factor Authentication (2FA) to Add an Extra Layer of Security to Your Accounts
Securing online accounts has never been more critical. With cyber threats constantly evolving, a password by itself is no longer enough to protect sensitive information. This is where Two-Factor Authentication (2FA) comes into play. Enabling 2FA is one of the most effective ways to enhance your online security. In this article, we will delve into what 2FA is, why it is essential, and how to enable it across various platforms.
What is Two-Factor Authentication (2FA)?
Two-Factor Authentication, commonly abbreviated as 2FA, is a security process that requires users to provide two different authentication factors to verify their identity. This method creates an additional layer of security, making it significantly harder for unauthorized individuals to gain access to online accounts.
Typically, 2FA combines something you know (like a password) with something you have (such as a mobile device) or something you are (biometric data like fingerprints). This dual-layer approach ensures that even if a hacker manages to steal your password, they would still need the second factor to access your account.
Why is 2FA Important?
- Enhanced Security: The primary benefit of 2FA is the enhanced security it offers. With 2FA enabled, even if your password is compromised, an attacker would still need the second factor to gain access, which is often much harder to obtain.
- Protection Against Phishing: Phishing attacks, where attackers trick users into providing their login credentials, are rampant. 2FA can significantly reduce the success rate of these attacks as the attacker would still need the second factor.
- Safeguarding Sensitive Information: For accounts containing sensitive information, such as banking, email, and social media accounts, 2FA provides an extra layer of protection, ensuring that your data remains safe.
- Compliance Requirements: Many regulatory standards, such as GDPR and HIPAA, recommend or even require the use of 2FA for securing personal data. Enabling 2FA helps in meeting these compliance requirements.
How to Enable Two-Factor Authentication (2FA) for Business Environments
safeguarding sensitive data and ensuring secure access to company resources is paramount. Two-Factor Authentication (2FA) offers an effective solution by adding an extra layer of security to user accounts. Implementing 2FA in a business environment not only protects against unauthorized access but also helps in meeting compliance requirements. This guide will walk you through the steps to enable 2FA for your business, ensuring a secure digital infrastructure.
Step 1: Assess Your Business Needs
Before implementing 2FA, it’s essential to understand your business requirements and identify which systems and applications need enhanced security. Consider the following:
Critical Applications: Identify key applications that store sensitive information, such as email systems, financial applications, customer databases, and internal communication tools.
User Roles: Determine which user roles require 2FA. Typically, this includes administrative accounts, finance teams, IT staff, and any other roles with access to sensitive data.
Compliance Requirements: Ensure that the implementation of 2FA aligns with industry standards and regulatory requirements relevant to your business, such as GDPR, HIPAA, or PCI DSS.
Step 2: Choose the Right 2FA Solution
Select a 2FA solution that fits your business needs. Here are some popular options:
Authy: A versatile 2FA app that supports multiple platforms and provides an easy-to-use interface.
Google Authenticator: A widely used app that generates time-based one-time passwords (TOTPs) for various services.
Microsoft Authenticator: Integrates seamlessly with Microsoft services and offers robust security features.
Duo Security: A comprehensive solution that provides advanced features such as device health checks and adaptive authentication.
Consider factors such as ease of use, compatibility with your existing systems, and cost when choosing a 2FA solution.
Step 3: Integrate 2FA with Business Applications
Once you have selected a 2FA solution, the next step is to integrate it with your business applications. Here’s how to do it for some common business platforms:
NOTE: The steps outlined below are accurate as of the publication date.
Steps for Enabling 2FA for Microsoft 365
- Log in to the Microsoft 365 Admin Center: Use your admin credentials to access the Microsoft 365 Admin Center.
- Navigate to the Active Users Section: Click on “Users” and then “Active users.”
- Select Users for 2FA: Choose the users you want to enable 2FA for and click on “Multi-Factor Authentication.”
- Enable 2FA: In the Multi-Factor Authentication settings, select the users and enable 2FA.
- Set Up User Authentication: Users will receive a prompt to set up their preferred authentication method, such as a phone number or the Microsoft Authenticator app.
Steps for Enabling 2FA for Google Workspace
- Log in to the Google Admin Console: Access the Google Admin Console using your admin credentials.
- Navigate to Security: Click on “Security” from the main menu.
- Set Up 2-Step Verification: Under “2-Step Verification,” click on “Setup.”
- Configure 2FA Settings: Customize the 2FA settings, such as enforcement and allowed methods (e.g., Google Authenticator, security keys).
- Enforce 2FA for Users: Apply the 2FA policy to your users. They will be prompted to set up 2FA during their next login.
Enabling 2FA for VPN Access
- Access Your VPN Management Console: Log in to your VPN management console with admin privileges.
- Navigate to Security Settings: Find the security settings or authentication section.
- Enable 2FA: Enable 2FA and choose the authentication method (e.g., OTP, hardware tokens, or authentication apps).
- Assign 2FA to Users: Select the users or user groups that need 2FA and apply the settings.
- Configure User Devices: Ensure users configure their devices with the chosen 2FA method.
Step 4: Educate and Train Employees
Successful implementation of 2FA requires employee buy-in and understanding. Conduct training sessions to educate your staff on the importance of 2FA and how to set it up. Provide resources such as guides and FAQs to assist them during the transition. Emphasize the benefits of 2FA in protecting both personal and company data.
Step 5: Monitor and Maintain 2FA
After enabling 2FA, it’s crucial to continuously monitor and maintain the system. Here are several methods to monitor and maintain your 2FA implementation:
Regular Audits: Conduct regular security audits to ensure 2FA is functioning correctly and identify any potential vulnerabilities.
User Support: Provide ongoing support to users who may encounter issues with 2FA, such as lost devices or authentication problems.
Policy Updates: Keep your 2FA policies up-to-date with the latest security best practices and technology advancements.
How to Enable 2FA on Various Platforms
Enabling 2FA on Google Accounts
Google accounts store a plethora of personal information, making them prime targets for cybercriminals. Here’s how to enable 2FA on your Google account:
- Sign in to your Google account: Go to the Google Account page and log in.
- Navigate to Security: In the left-hand menu, click on “Security.”
- Find 2-Step Verification: Scroll down to the “Signing in to Google” section and click on “2-Step Verification.”
- Get Started: Click on “Get Started” and follow the on-screen instructions.
- Choose your second factor: Google offers several options, including text message codes, Google prompts, authenticator apps, and hardware security keys. Select your preferred method and follow the prompts to complete the setup.
Enabling 2FA on Facebook
To secure your Facebook account with 2FA:
- Log in to Facebook: Open Facebook and log in.
- Go to Settings & Privacy: Click on the downward arrow at the top right corner and select “Settings & Privacy.”
- Navigate to Security and Login: Select “Settings,” then click on “Security and Login.”
- Set up 2FA: Under “Two-Factor Authentication,” click on “Edit” next to “Use two-factor authentication.”
- Choose your method: Facebook offers authentication methods like text message codes or an authentication app. Select your preferred option and follow the instructions to set it up.
Enabling 2FA on Twitter
To enable 2FA on your Twitter account:
- Log in to Twitter: Open Twitter and log in.
- Go to Settings and Privacy: Click on the profile icon, then select “Settings and privacy.”
- Navigate to Security: Click on “Account,” then “Security and account access,” and finally “Security.”
- Enable 2FA: Click on “Two-factor authentication” and choose your method (text message, authentication app, or security key). Follow the prompts to complete the setup.
Enabling 2FA on Banking Apps
Given the sensitivity of financial information, many banking apps offer 2FA. While the process can vary between banks, the general steps are:
- Log in to your banking app: Open the app and log in.
- Go to Security Settings: Navigate to the settings menu and look for security or privacy settings.
- Enable 2FA: Find the option for 2FA and follow the prompts to set it up. This often involves linking your mobile number or using an authenticator app.
Conclusion
Enabling Two-Factor Authentication (2FA) is a crucial step in safeguarding your online accounts. By adding an extra layer of security, you significantly reduce the risk of unauthorized access and protect your sensitive information from cyber threats. While the setup process may vary slightly across different platforms, the peace of mind it provides is well worth the effort. Take the time to enable 2FA on your accounts today and enjoy enhanced security in the digital world.